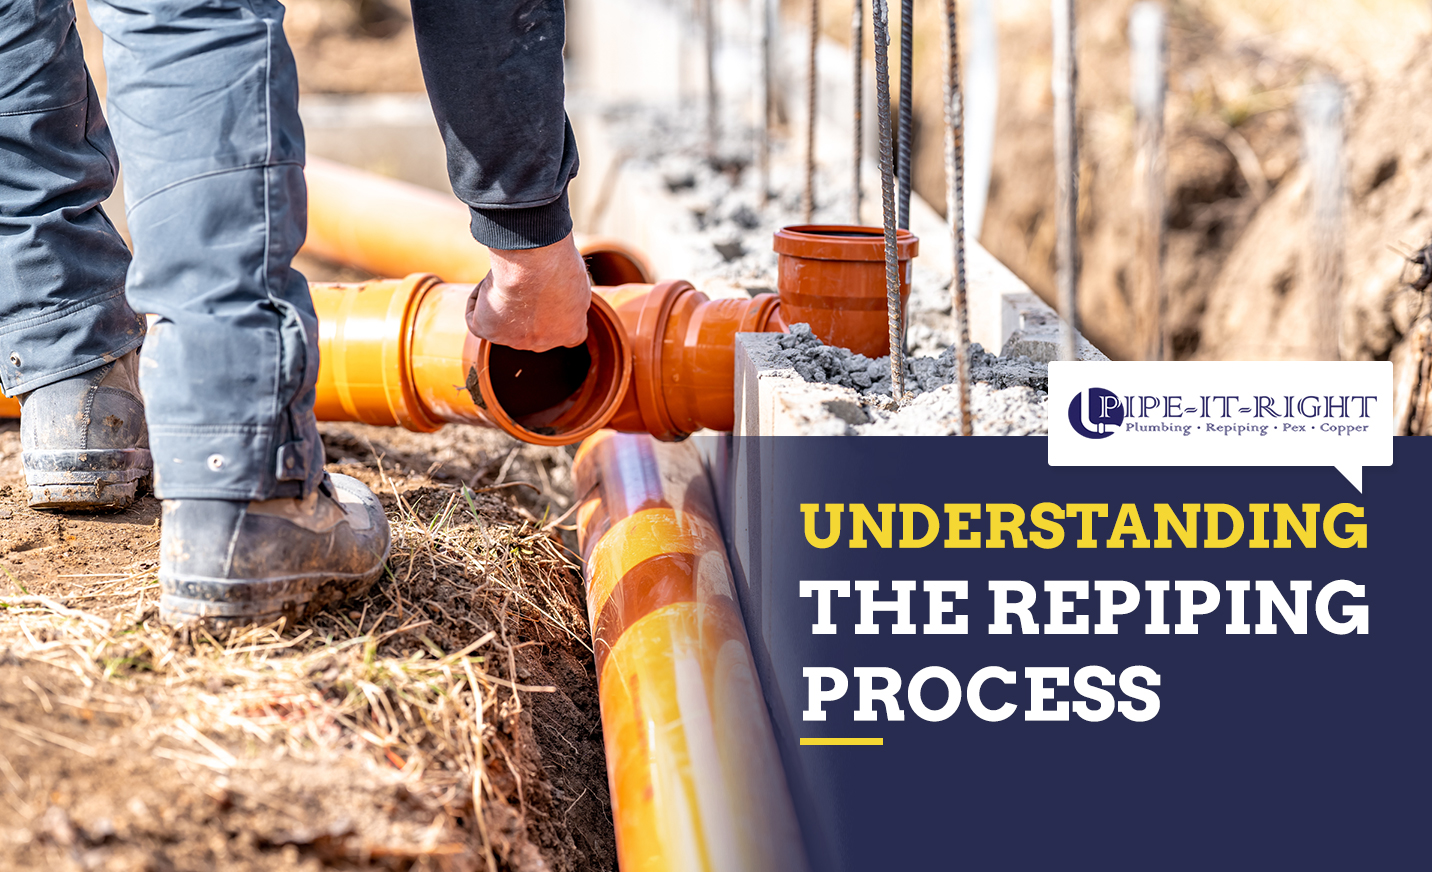
Everything You Need to Know About the Home Repiping Process
- What is repiping and how long does it take?
- Understanding the repiping process
- What materials are used and why they matter
Plumbing issues causing headaches? It’s time to consider repiping your system!
If you’ve ever faced issues like low water pressure, leaky pipes, or rusty water, these are signs that your home may need new pipes.
In this post, we’ll walk you through the repiping process, which can transform your home’s plumbing from drab to fab!
What is Repiping?
At its core, repiping means replacing old or damaged house pipes with modern, durable replacements. Most homes complete this process in 2–5 days, depending on size and layout.
Understanding the Repiping Process
Repiping can be a stressful project for you as a homeowner, but with a basic understanding of the process, you’ll be better prepared for what’s to come. Even more so with a trusted plumbing company. Here’s a step-by-step breakdown of the repiping procedure:
Step 1: Plumbing Inspection
A professional plumber will inspect your home’s plumbing system and determine if repiping is necessary. They will also identify the best course of action and
Step 2: Material Selection
You’ll choose the pipe type best suited for your layout, budget, and priorities.
Preparation and Water Shutoff
Before starting the repiping process, the plumber will turn off the main water supply to your home. They will also take measures to protect your belongings and minimize disruptions during the project.
Step 3: Pipe Replacement
As you might expect, the next step involves removing the old, damaged pipes and replacing them with new, high-quality ones. Modern repiping often involves using durable materials like copper or PEX (cross-linked polyethylene) pipes, which have a longer lifespan and offer superior performance.
Professional plumbers use techniques to minimize damage to your walls, ceilings, and floors during the repiping process. They may create small access points or utilize existing openings to thread the new pipes through the walls.
Step 5: Pressure Testing
After installing the new pipes, the plumbing system undergoes a pressure test to ensure there are no leaks. This critical step guarantees that your new plumbing system functions properly and prevents any future issues.
Step 6: Finishing Touches & Repair
Once the pressure test is successful, the plumber will complete the repiping project by patching up any access points and restoring the walls and floors to their original condition.
Signs that Your Home Needs Repiping
Before diving into the repiping process, it’s essential to identify the signs indicating that your home may require this procedure. Look out for these common red flags:
- Frequent leaks or pipe bursts
- Low water pressure in multiple fixtures
- Discolored or rusty water
- Corrosion on pipes
- Pungent, foul odor from your water supply
- High water bills without any noticeable increase in usage
If you notice any of these signs, it’s time to consider repiping to prevent further damage and potential water-related disasters.
>> Related Reading: Is It Time to Repipe Your Home? Signs You Should Know
What Are The Most Common Repiping Materials?
In Southern California, most repiping projects rely on two trusted materials: PEX and copper. Each offers unique benefits depending on your budget, plumbing layout, and long-term goals.
PEX (cross-linked polyethylene)
Flexible, cost-effective, and quick to install. It can bend around corners and fit through tight spaces, which helps reduce drywall cuts and labor time. It’s also resistant to corrosion, scale, and chlorine, making it a great fit for SoCal water conditions.
Copper
Copper piping is more rigid and takes longer to install, but it’s highly durable, heat-resistant, and naturally antimicrobial. Many homeowners choose copper for its lifespan (50+ years), water quality benefits, and resale appeal.
Want a deeper breakdown? See our full comparison: Copper vs. PEX- Which Is Best for Your Home?
Your plumber can help you choose the right material based on your home’s layout and your long-term priorities.
The Benefits of Repiping
Repiping your home offers numerous advantages, making it a worthwhile investment:
- Improved Water Quality: Installing new pipes eliminates rust and corrosion, improving the quality and taste of your water.
- Enhanced Water Pressure: Repiping improves water flow, eliminating low water pressure issues.
- Prevents Future Leaks: By replacing old, damaged pipes, you avoid the risk of costly leaks and potential water damage.
- Energy Efficiency: New pipes reduce water waste and can lead to lower utility bills.
- Increased Home Value: Repiping adds value to your property, making it an attractive feature for potential buyers.
In Summary
Understanding the basics of the repiping process is essential for homeowners facing plumbing issues that demand immediate attention. By recognizing the signs of deteriorating pipes and comprehending the steps involved in repiping, you can take proactive measures to secure your home’s plumbing system for years to come.
If you’re uncertain about the severity of your plumbing issues or need professional assistance, your best bet is to consult a licensed plumber. They can guide you through the repiping process and ensure a smooth transition to a more efficient and reliable plumbing system. If you’re in Southern California, don’t hesitate to reach out to us today!


